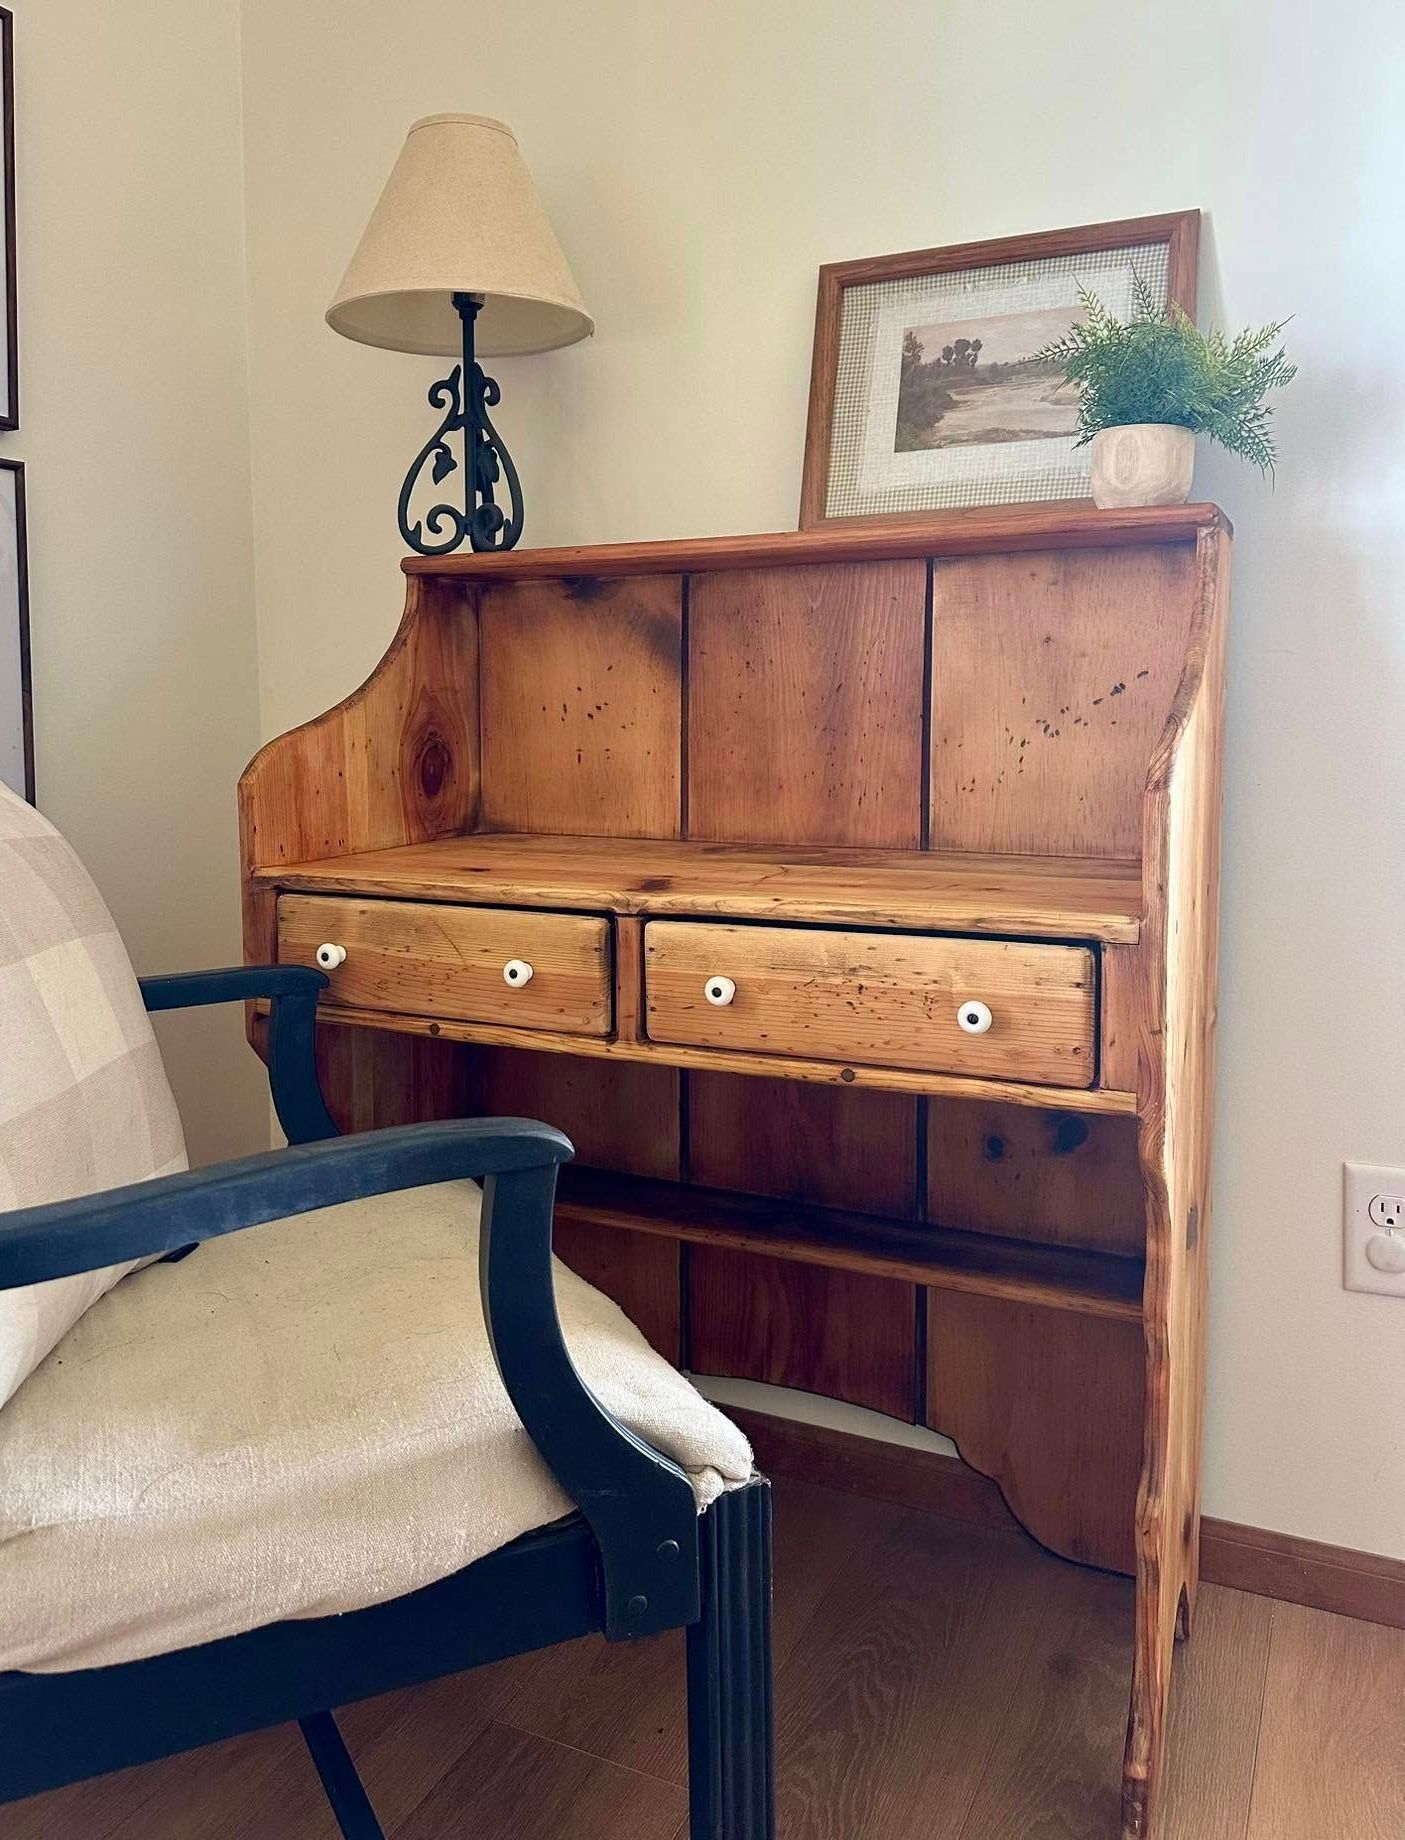
Primary Bathroom: Phase 1
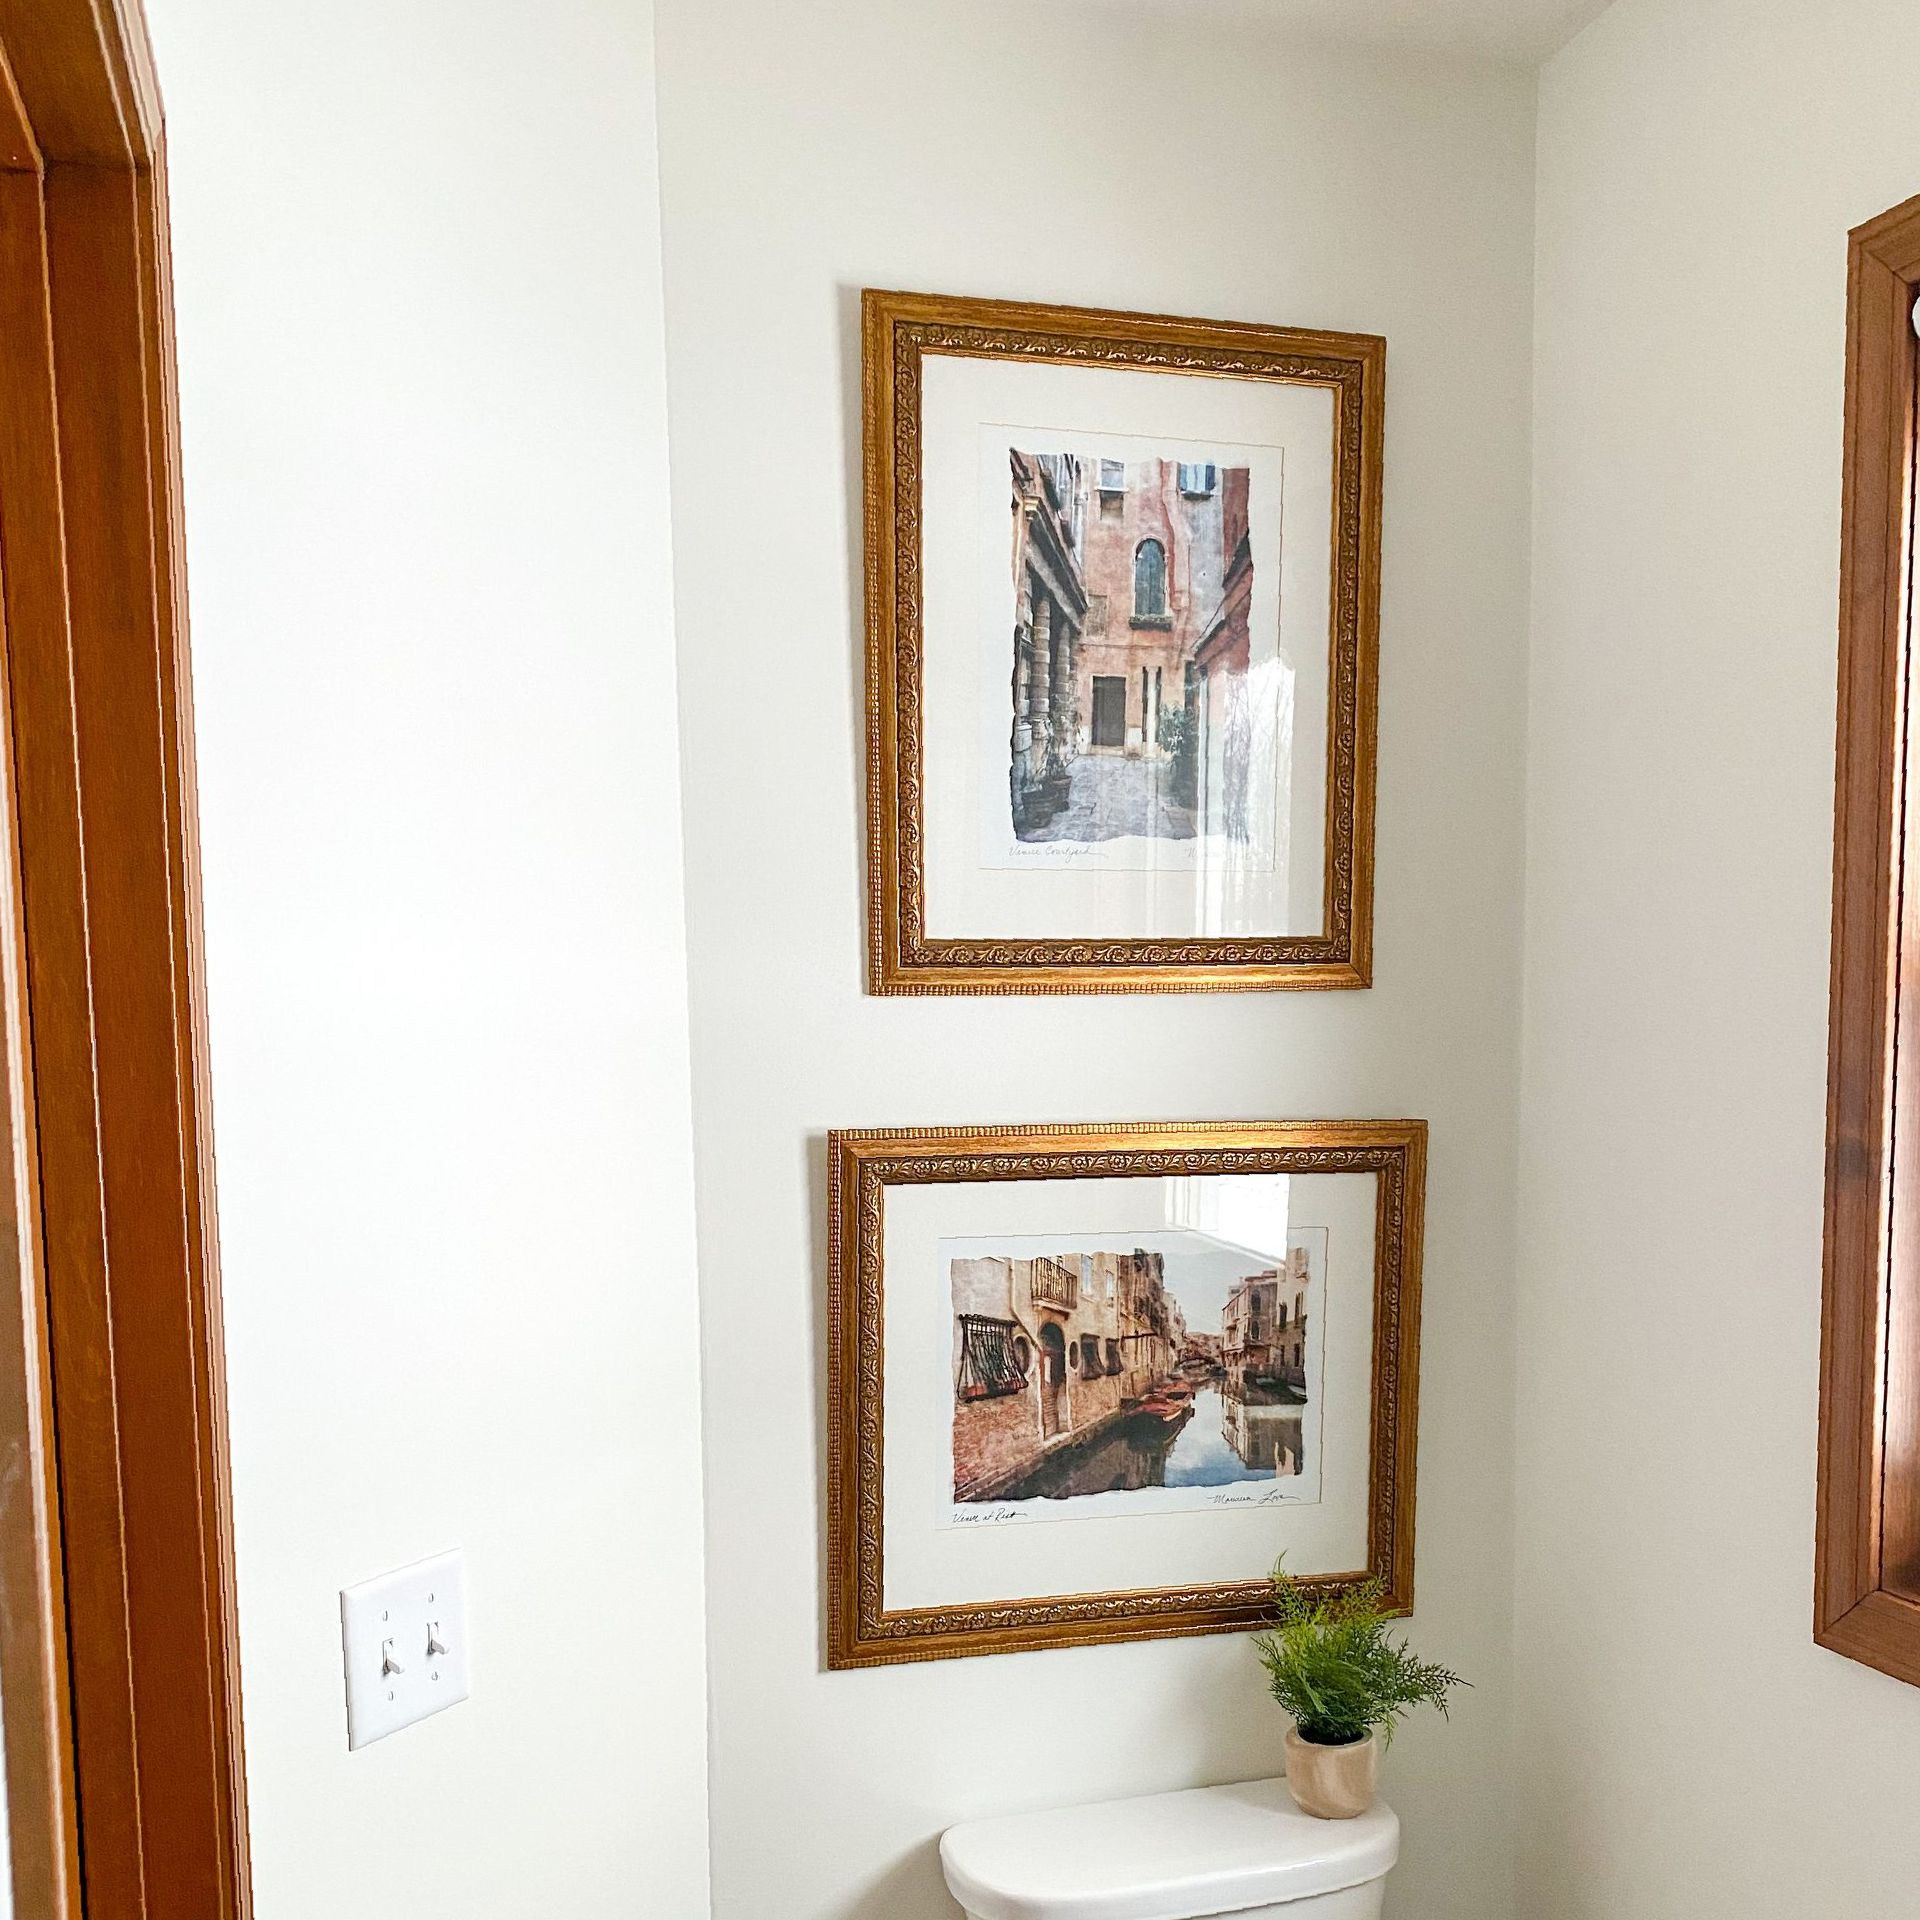
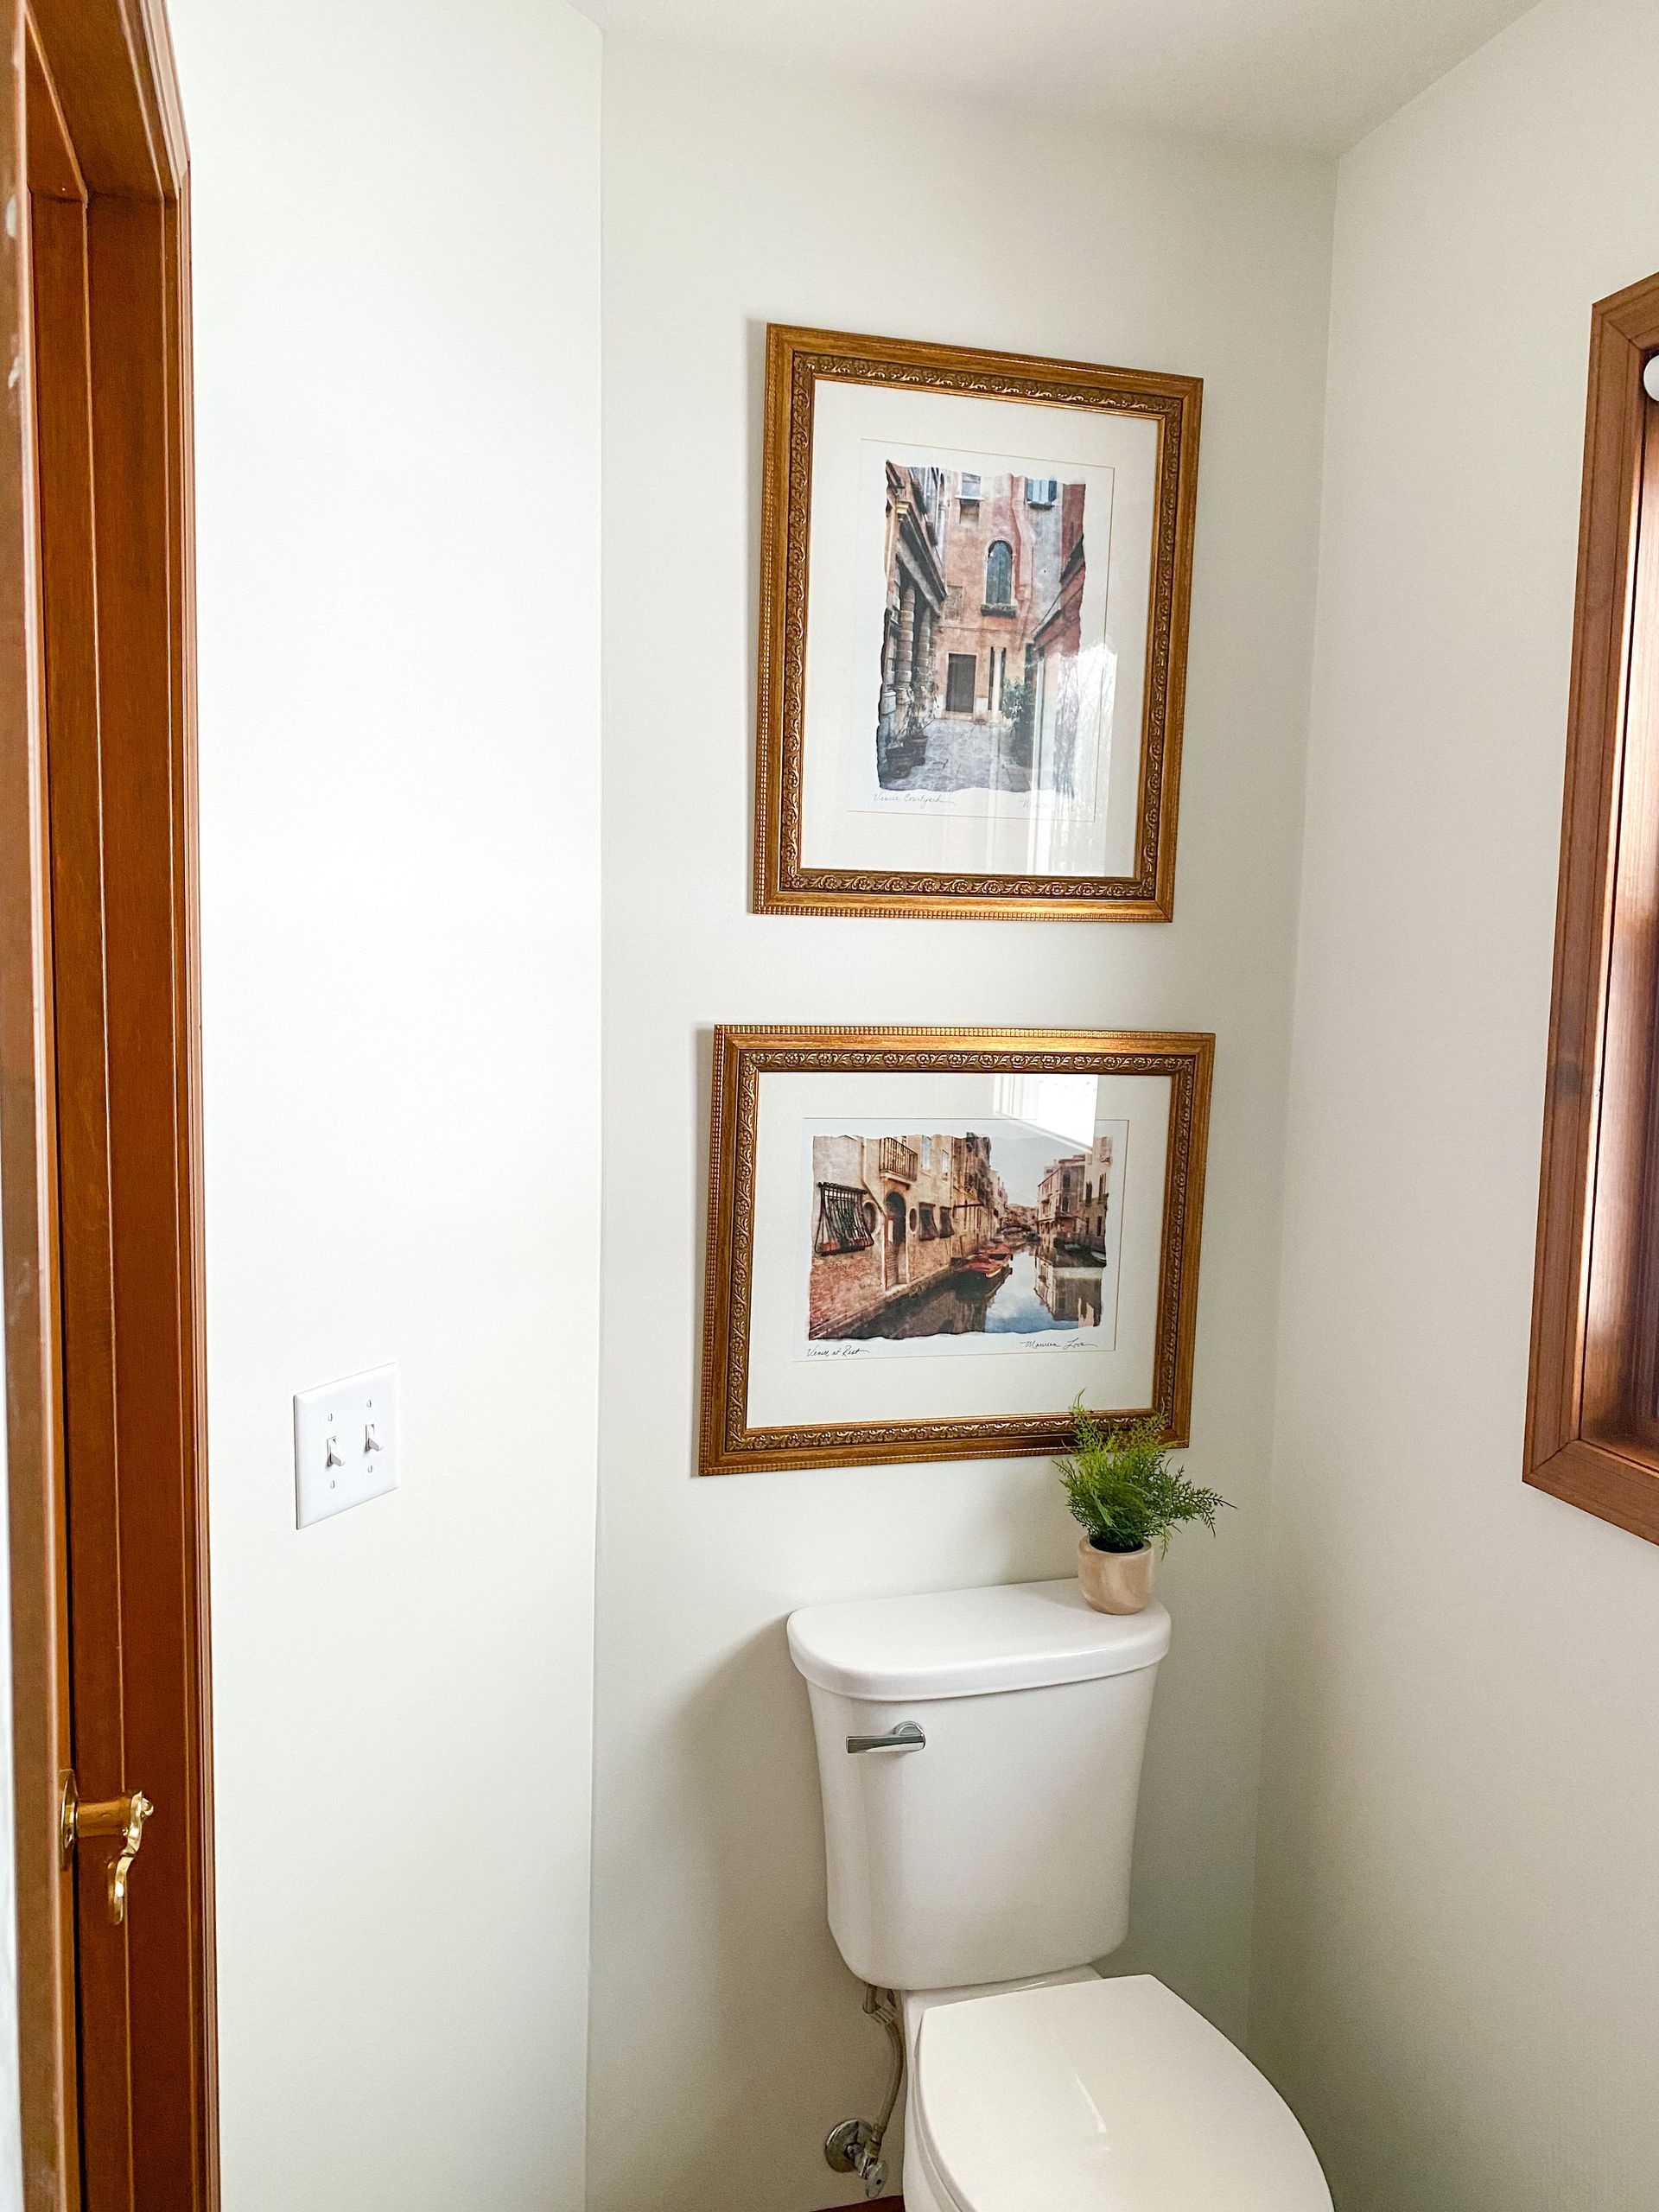
We kicked off 2023 with a "no spend month." If you aren't familiar with the concept, we decided to only purchase the necessities: groceries, utilities, fuel, or anything we absolutely need to live. I decided I did not want to wait until February to start this project, so I completed this project for free! I had the paint and supplies from a previous project and the framed art was tucked away waiting to be hung in our new house. I had to get creative and while searching high and low for decor that was not being used.
Changes over the year
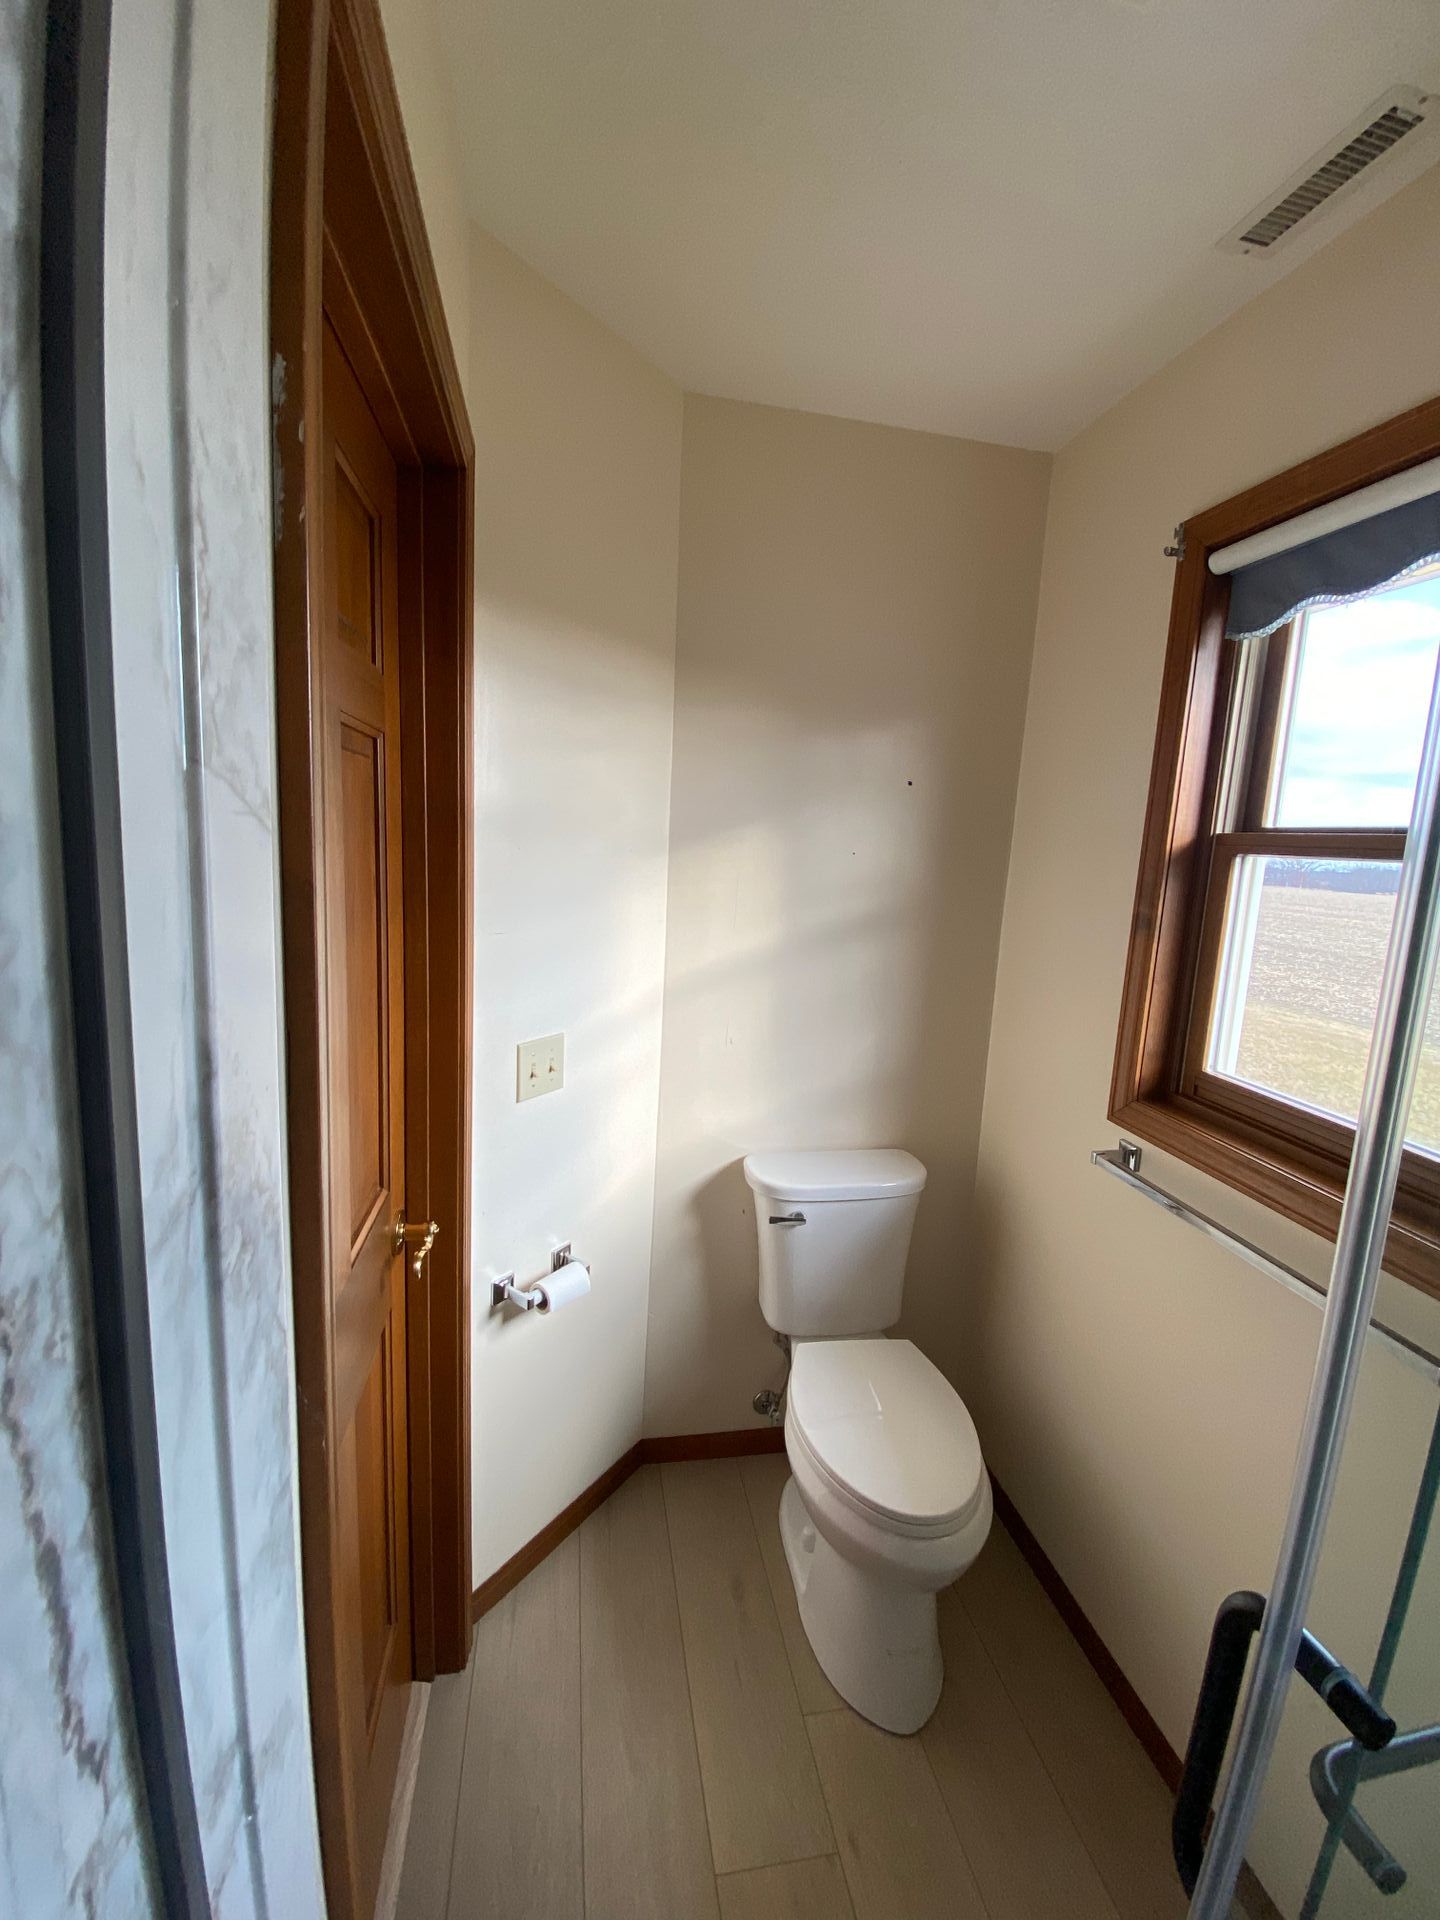
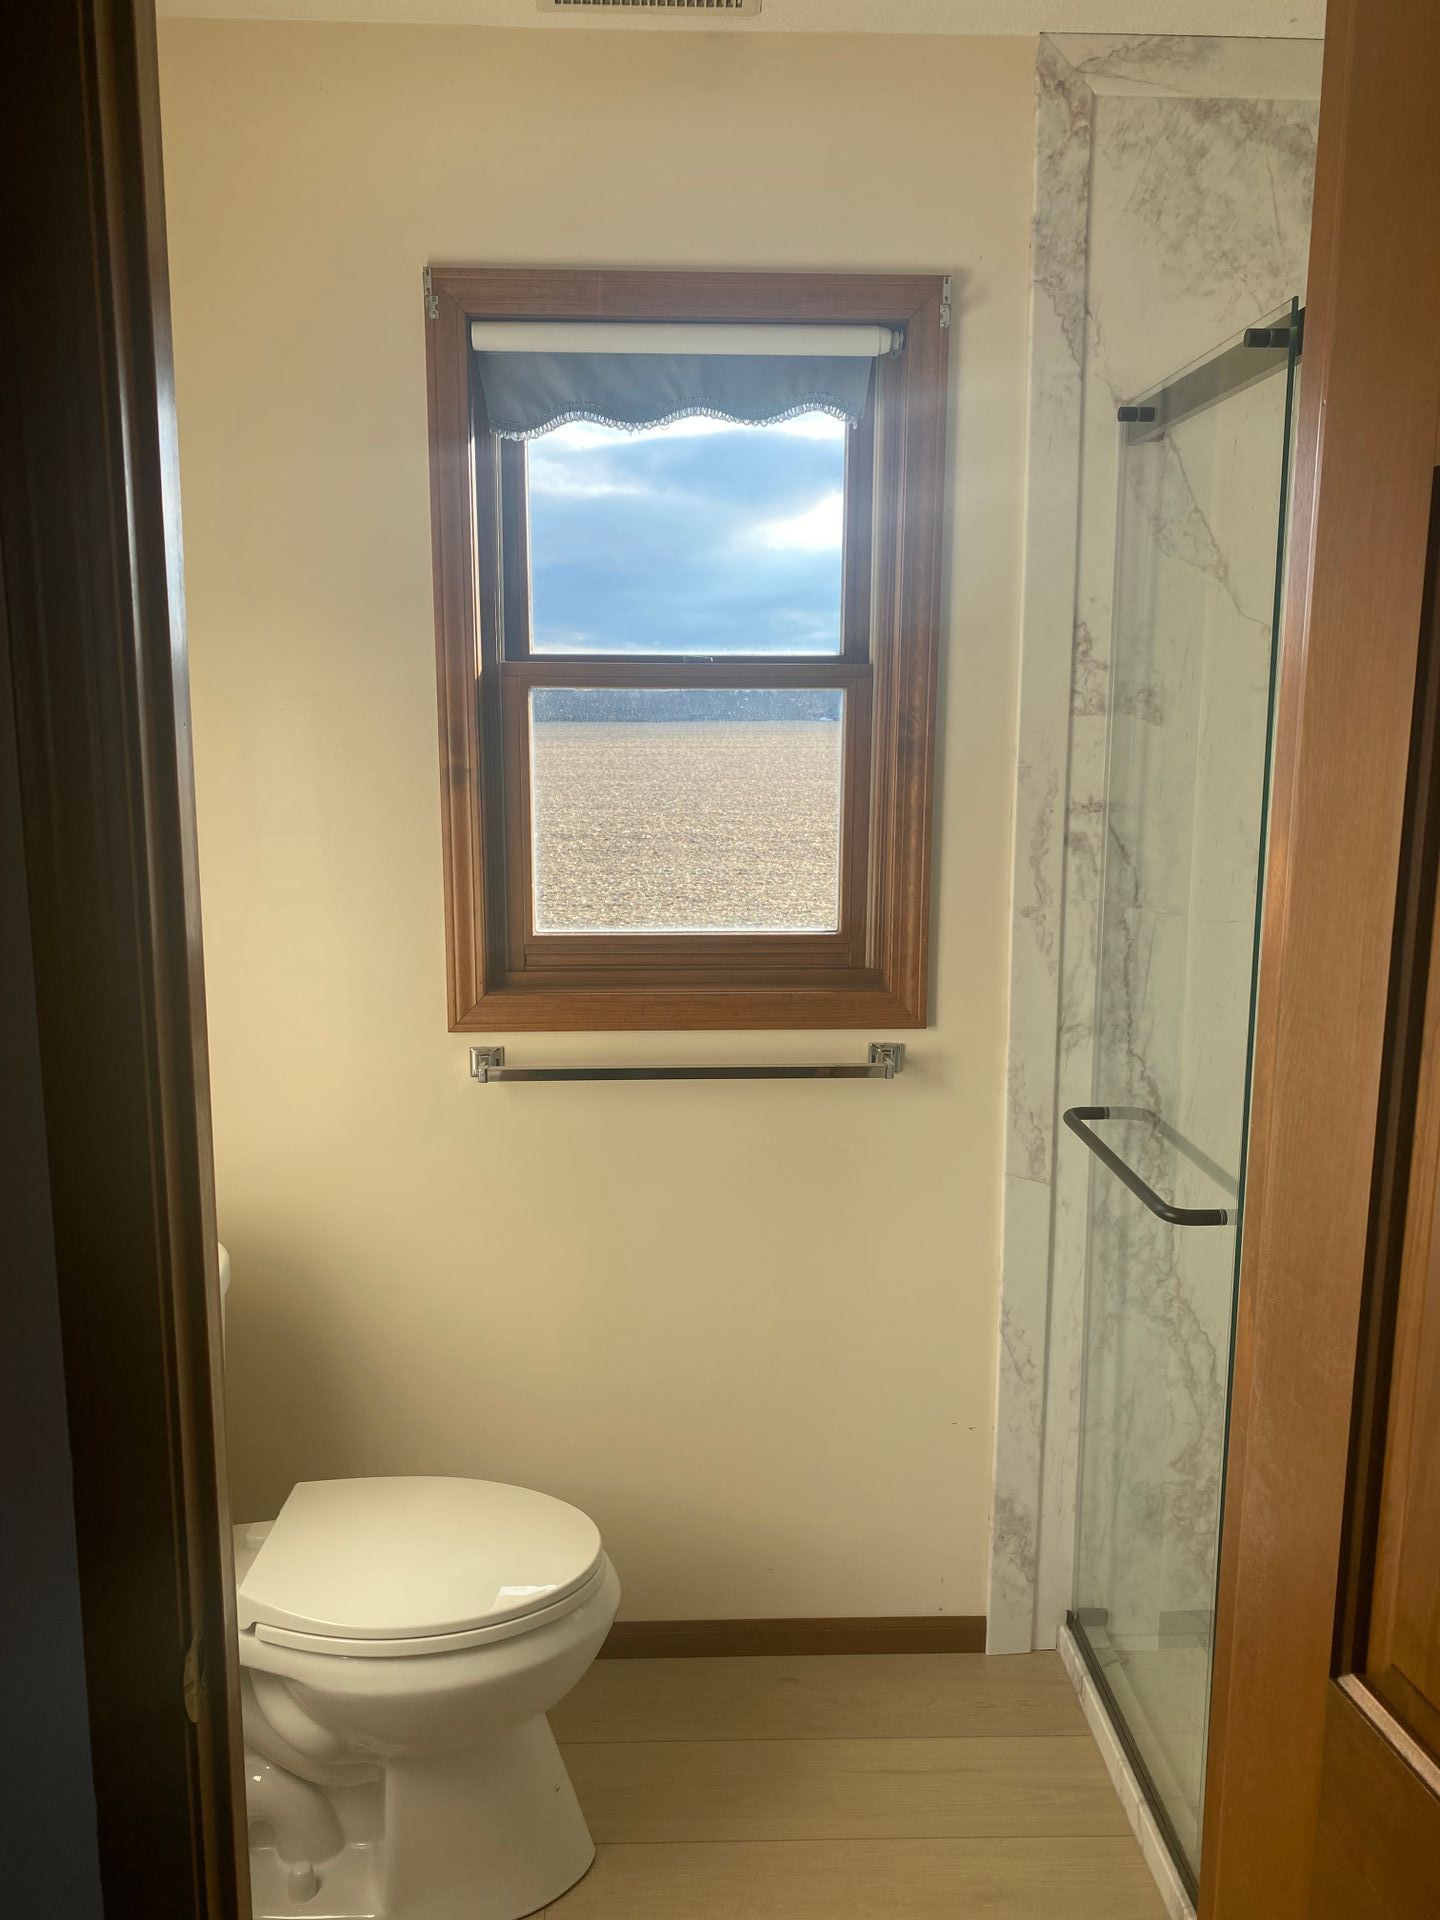
The photo on the left reflects our original bathroom that we moved into our house with. Several months after living here, we discovered a water leak coming from the shower. When the repairs were being completed, I was 7 months pregnant with our second baby, Weston. The thought of painting yet another room was daunting, so I left it.
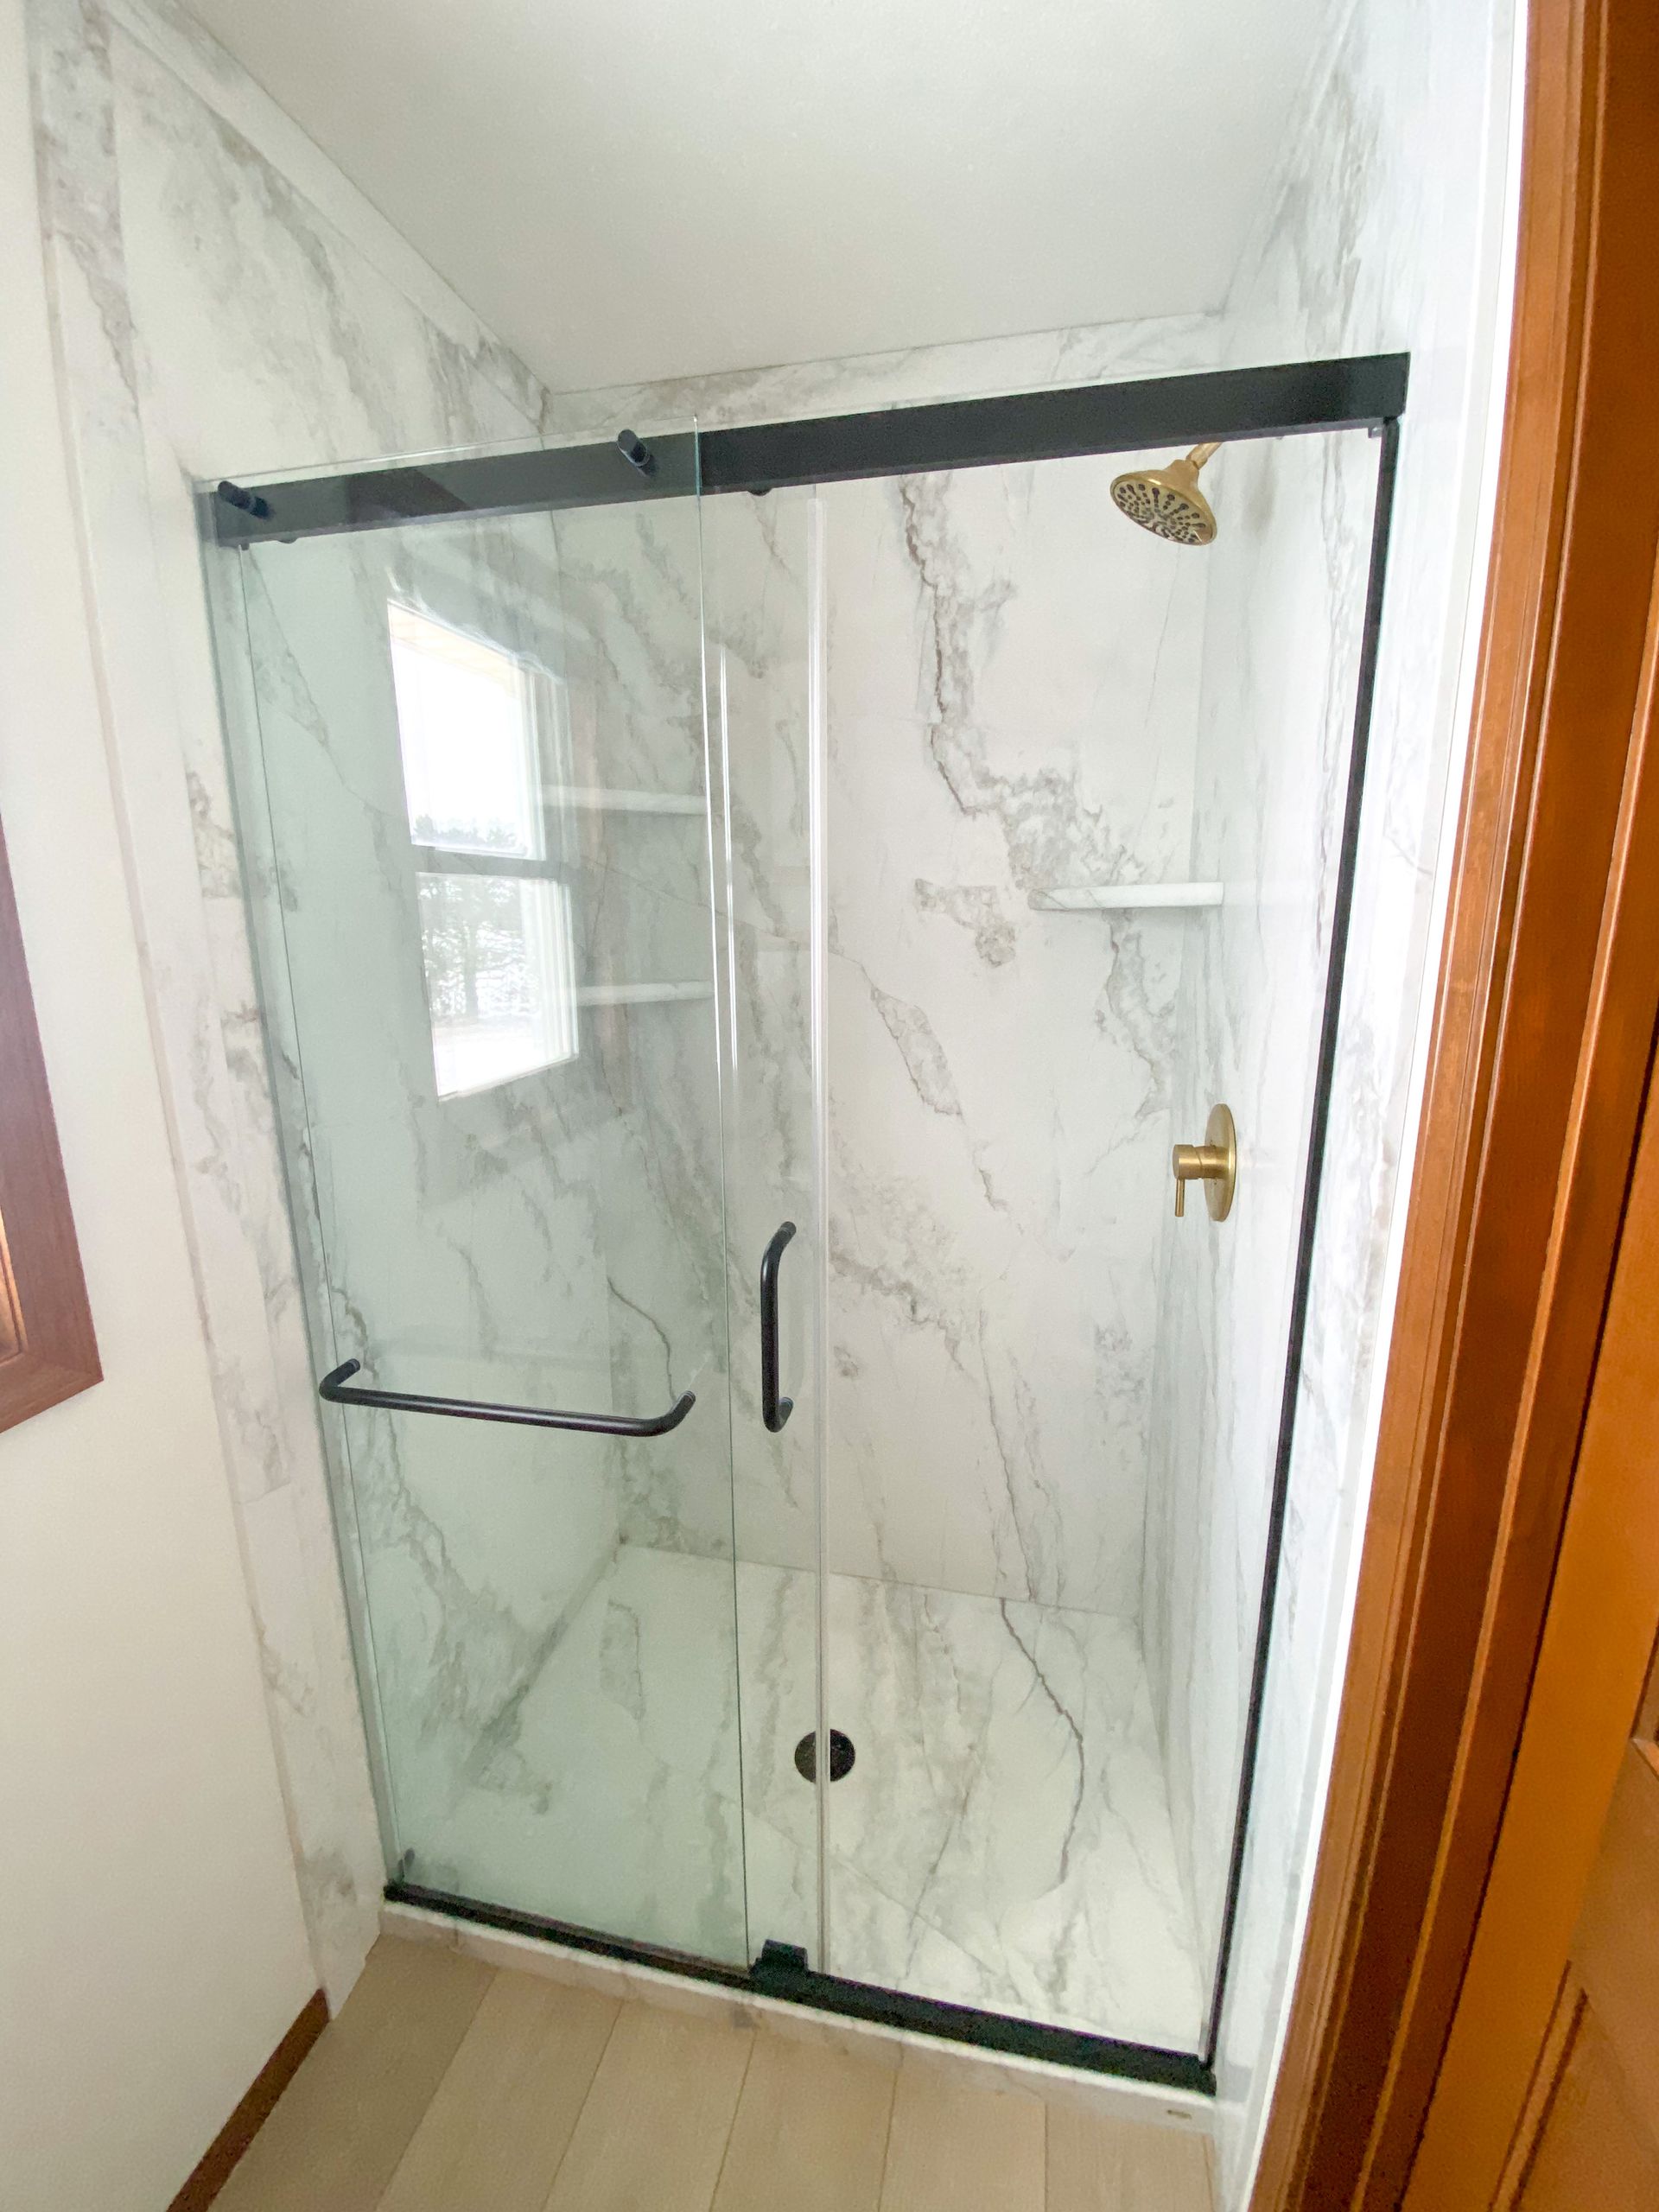
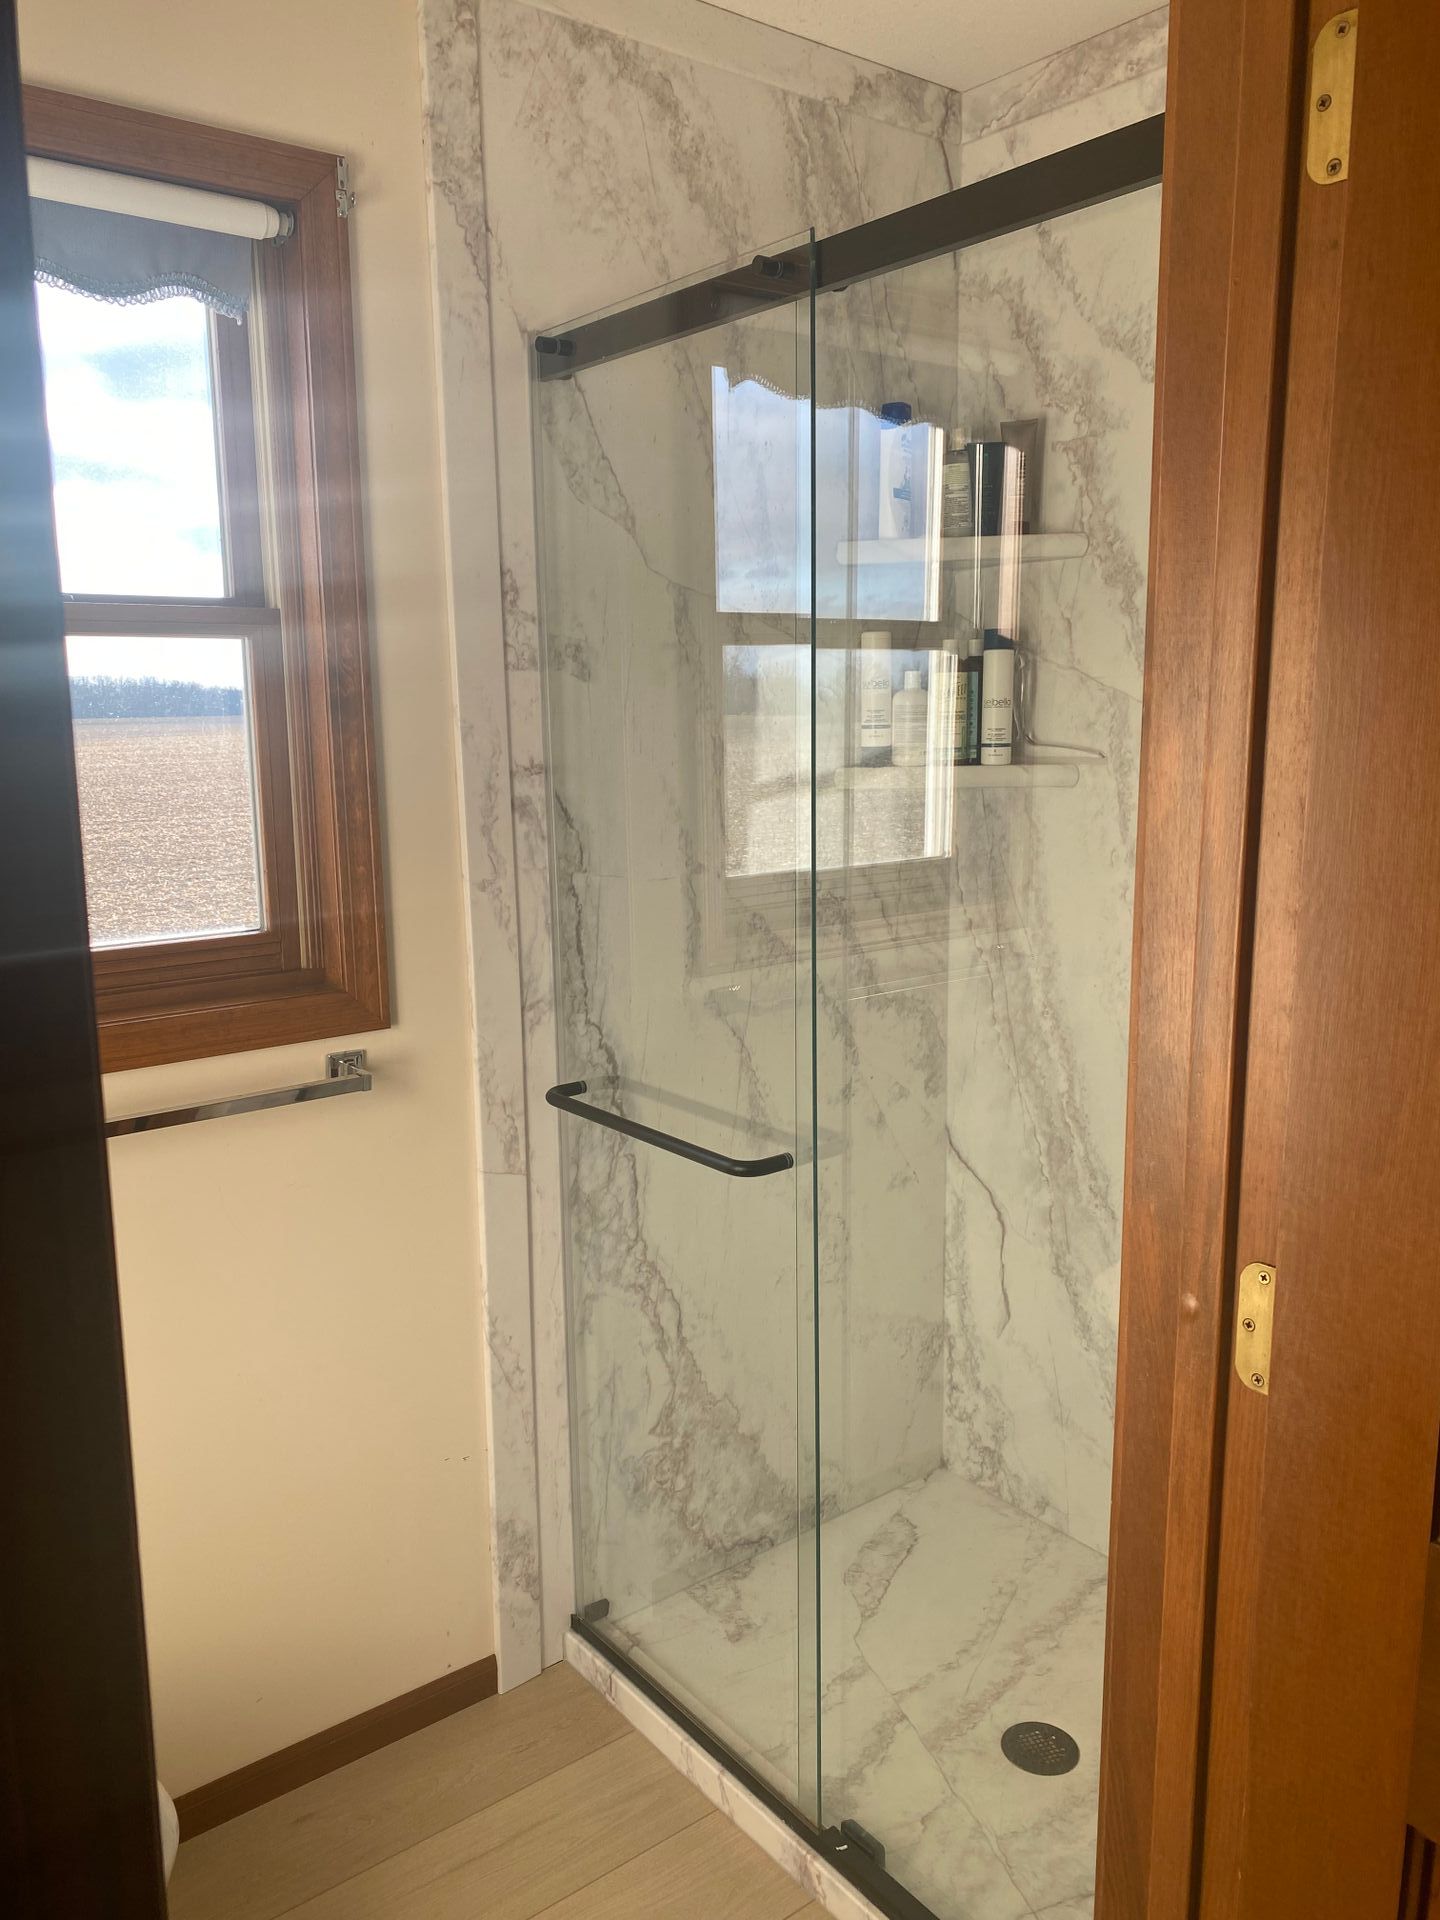
The leak left us with a new spacious shower, sliding glass door, updated fixtures, and flooring.
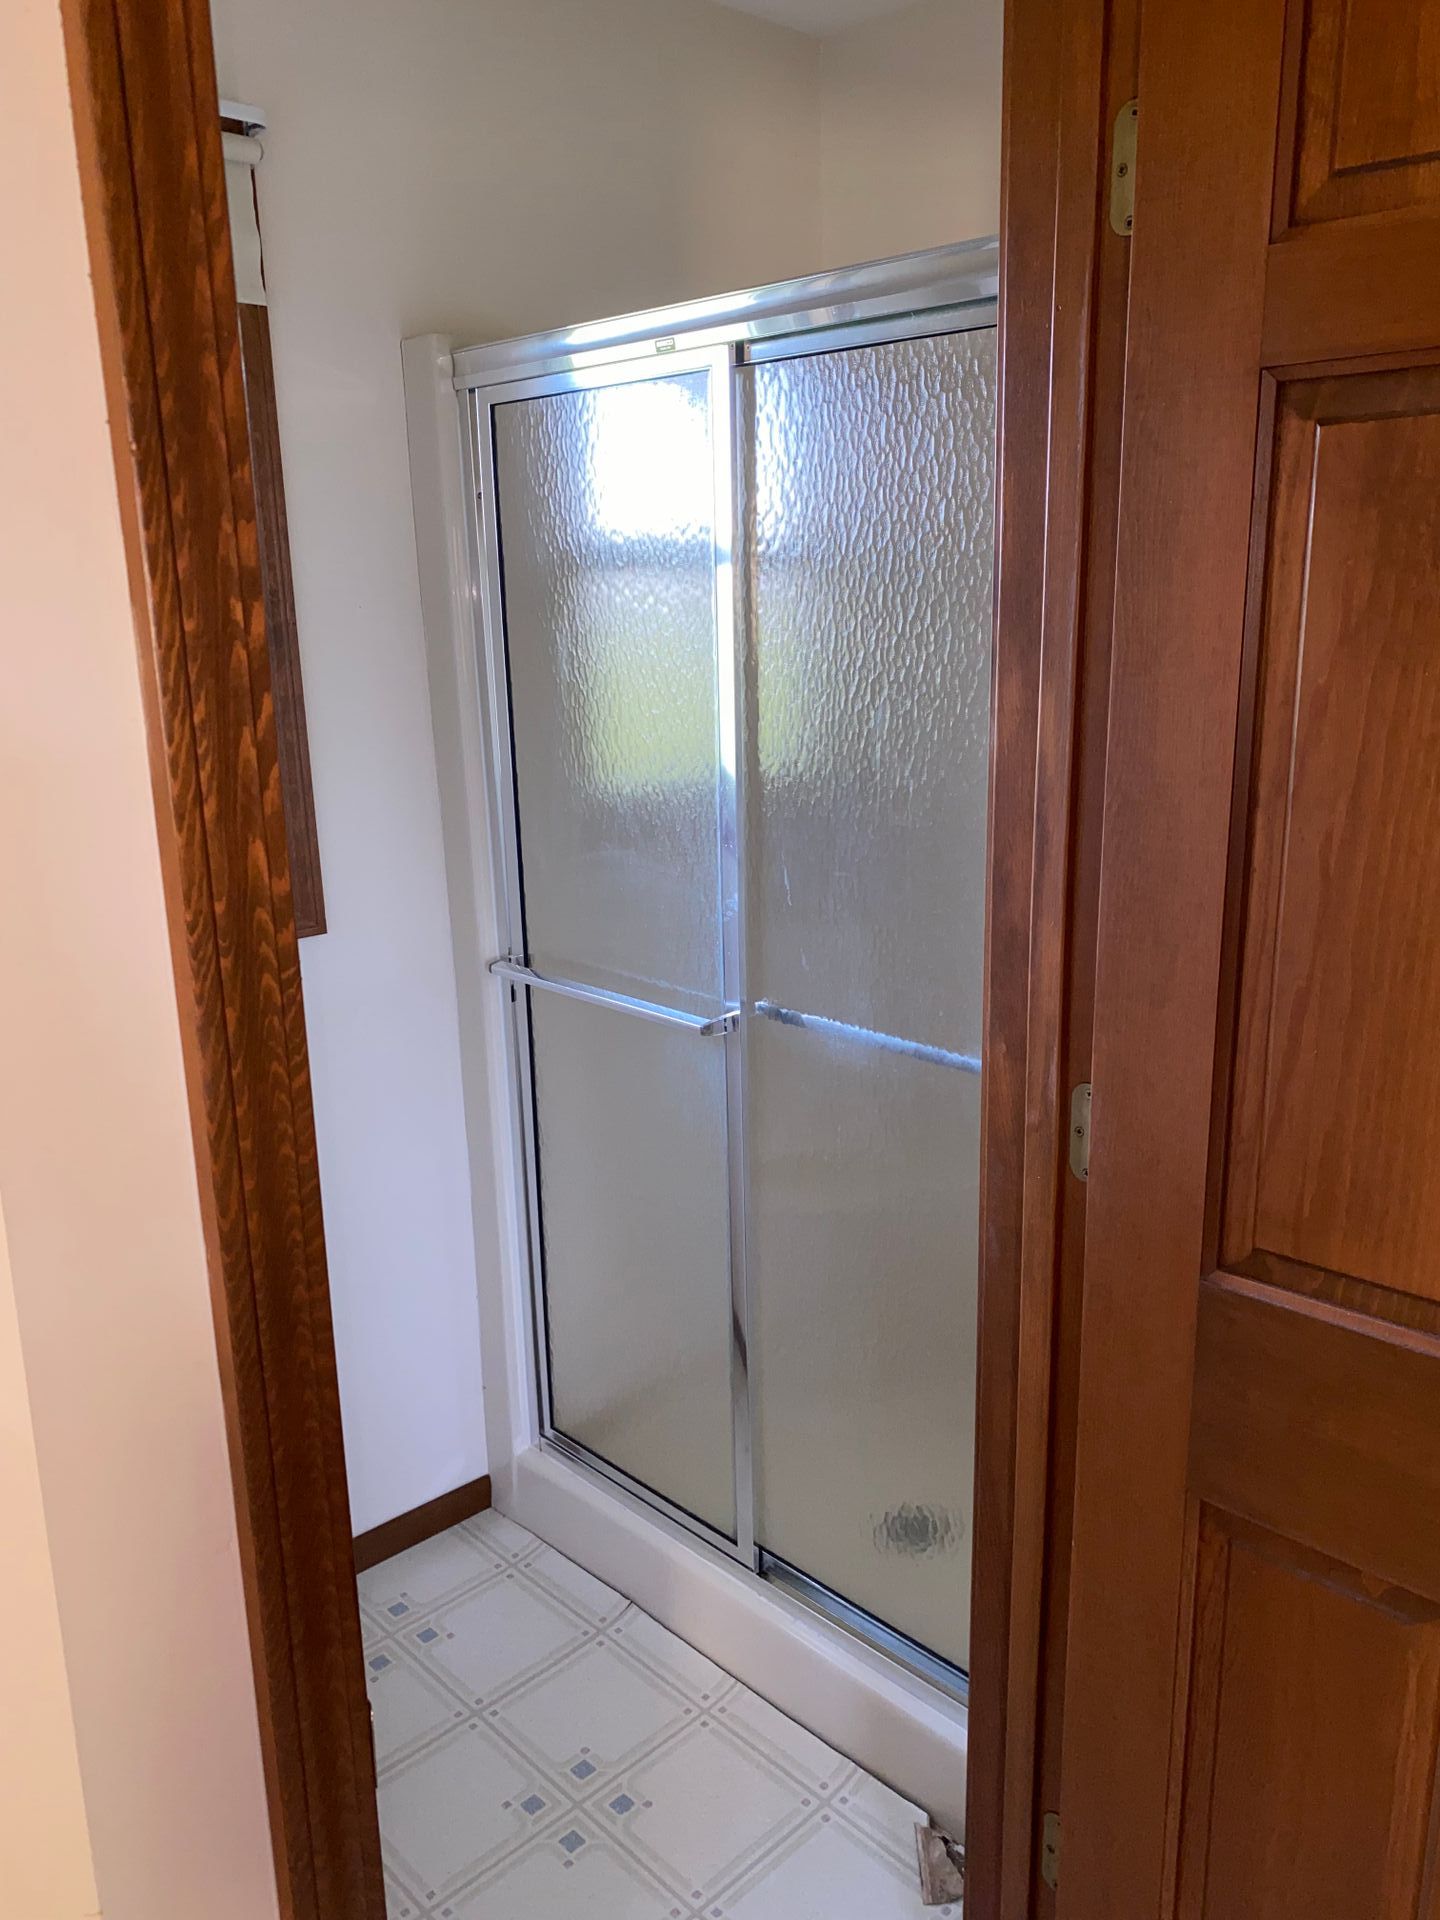
January 2023 Before
This bathroom refresh made a huge impact in a short amount of time! I started by removing the towel bar, toilet paper holder, and valance brackets from the window frame. The walls had a slight texture from the previous paint so I decided to sand all of the walls using 80 grit sandpaper. If you have a large area to complete, I highly recommend using a sanding pole to save time. After the walls were sanded, I patched the holes using my favorite dry wall spackling and spackle knife. Once the spackling was dry, I used 220 grit sandpaper to smooth over the spackling for a seamless transition. I washed the walls down using a microfiber cloth and warm water removing the remaining dust from the surface. The original paint was a sheen finish and the new paint I chose has an eggshell finish, therefore I needed to prime the walls. Since I primed, I needed to sand the walls one last time after it was dry and before I could paint. I went back in with my 220 grit sandpaper for a light scuff to ensure the walls were extra smooth. Then once again, I wiped them down with my wet microfiber cloth. After all of the prep work was completed, I painted all of the walls using Sherwin Williams paint in the color Alabaster.